EBike Battery Mount ATTACH
Backlinks: 2025 | Ebike battery holder
Mounting the triangle battery in a good place is not so easy! If you have frame in which it's close to the top tube, perhaps strapping to all the tubes would work just fine. My triangle is much bigger so I initially attached it in the top corner like this:
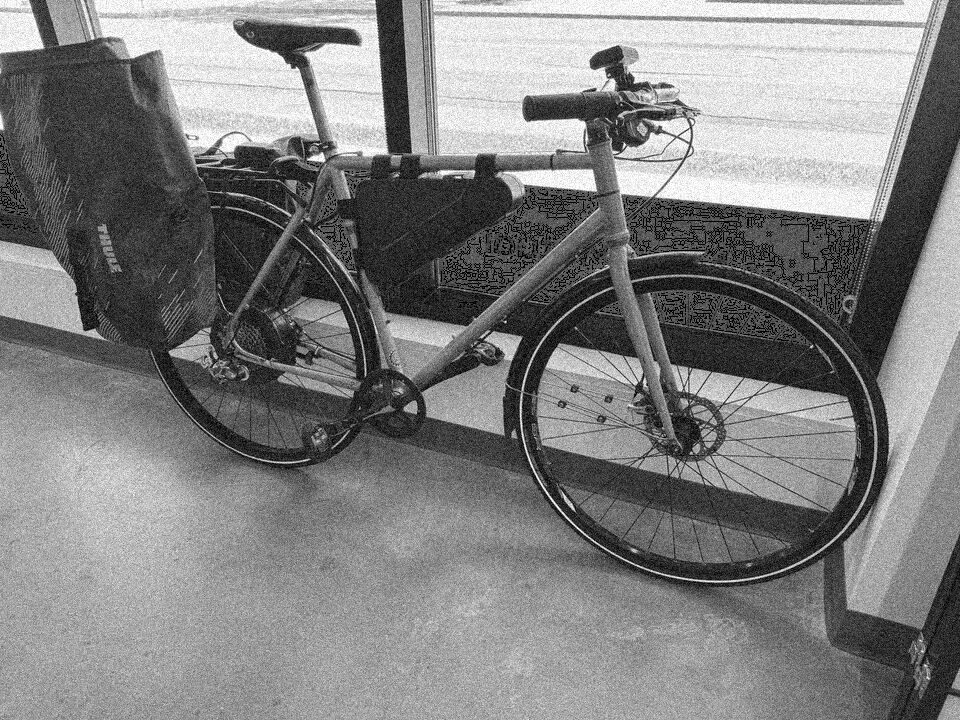
That worked well for 400-ish miles, until the velcro straps broke. It also turned out that part of the loops had broken off too. Maybe some bike tube padding and a bike tube strap would have helped? The straps giving out was the same day that my pannier detached and my laptop and phone were totally crushed. I was able to hold the battery for the last couple miles, but I was pretty defeated after this and didn't ride for a couple months.
Seeing this battery on the floor, and just moving it around as I build out the bike shop, was sad. It needed to go back on the bike! With some velcro straps and plenty of bike tube tying, this was a rock solid attachment:
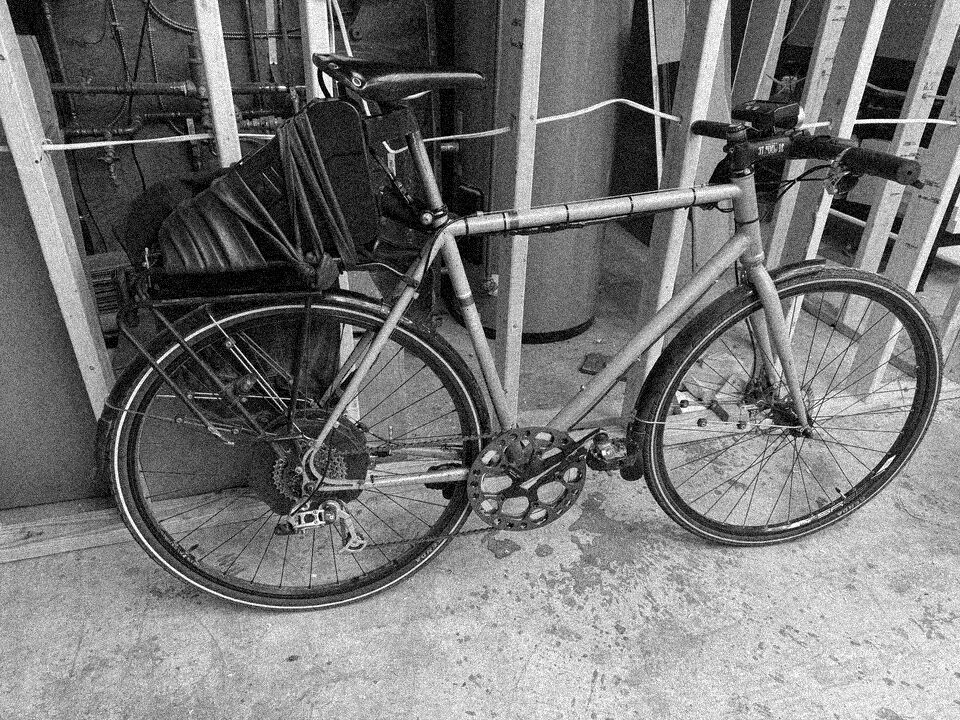
I did two commutes on this, around 100 miles, and it was great. Yet I was satisified! Getting the weight lower would definitely make the bike handle better, and it kind of looked like shit.
So I spent two hours measuring, 3d modeling, and got it mounted in the lower part of the triangle. I was inspired by a lot of different attempts at this:
- This guy made an aluminum bracket system which is cool [cache].
- The grin triple bob attachment using hose clamps for extra security. I bought one of these with the whole system, turned out I didn't need it!
- This guy made some 3d-printed brackets [cache], I don't think they'd be strong enough alone.
- Full frame case [cache] that the battery fits inside is very cool, but I'm not sure that this actually exists. I found various versions of this picture around the internet.
- A bunch of different DIY options that are pretty cool [cache].
I started by measuring the battery pack, and then modeling a case around it! My browser history is a good project log. You can see me looking for a dimensional drawing of the battery (which I didn't find) and then converting from my tape measure to mm here, ha:

Looks like it only took an hour of measuring and drawing before I was looking into the setting for the slicer software.
The modeled battery looks like this:

I had to modify it to fit inside the bed of the printer, though I had liked this orientation:
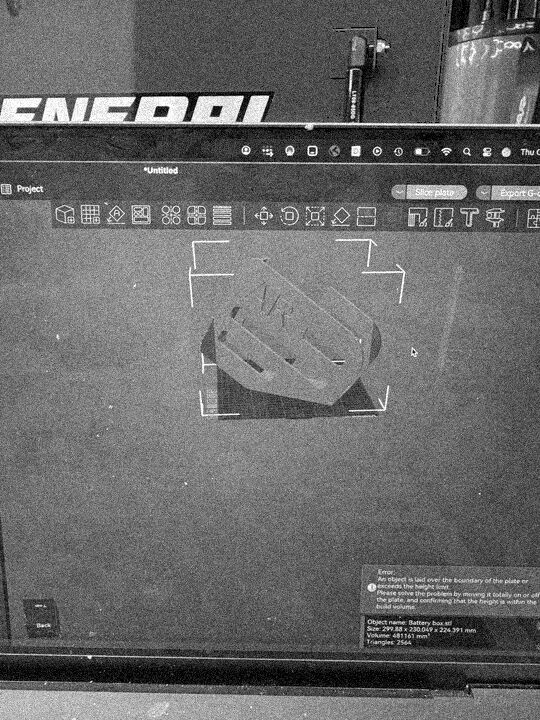
I had to trim it and orient it vertically. By the next morning it was ready:
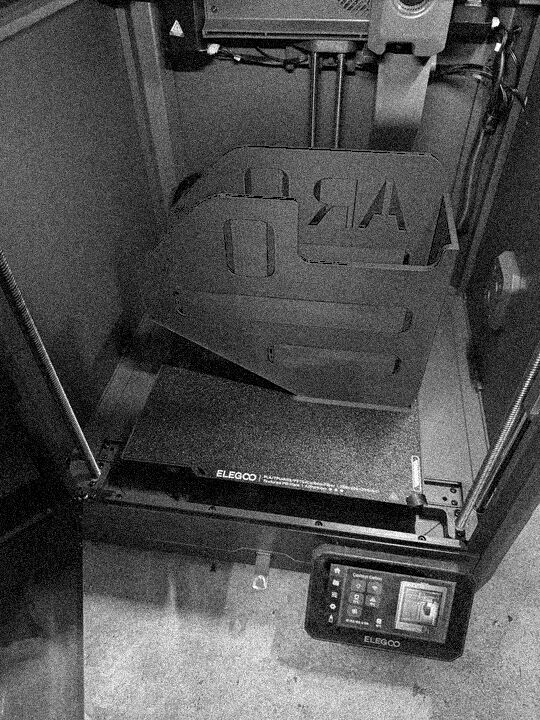
It fits!!
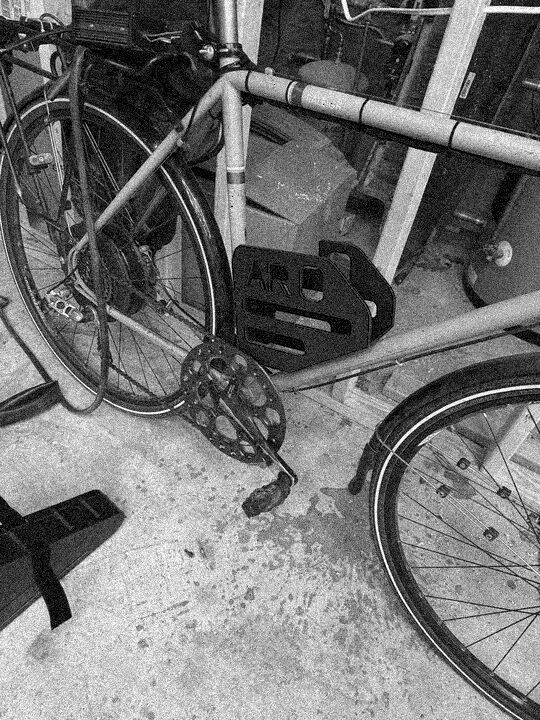
The mount holes all line up, which is more amazing:
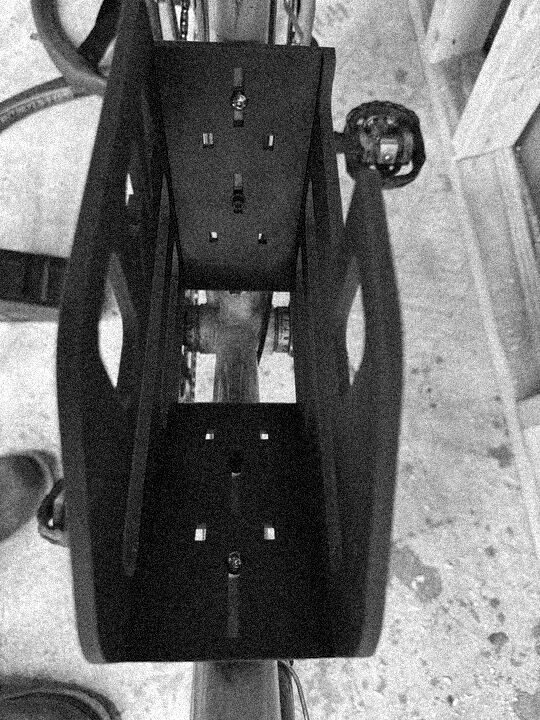
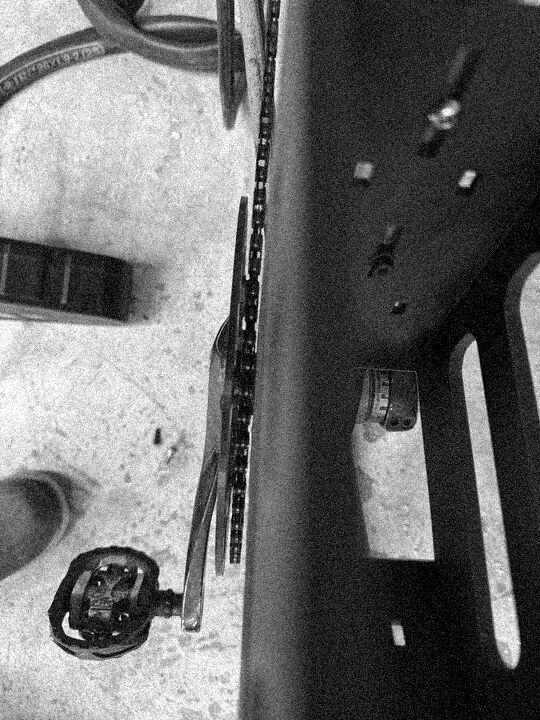
I went with a a few more washers on the bolts at the end of the day, as well as three hose clamps. The chain line was really tight, on a version 2 I'd make the wall thinner along the radius of the chainring:
All mounted, with a bike tube to make sure it doesn't look too professional:
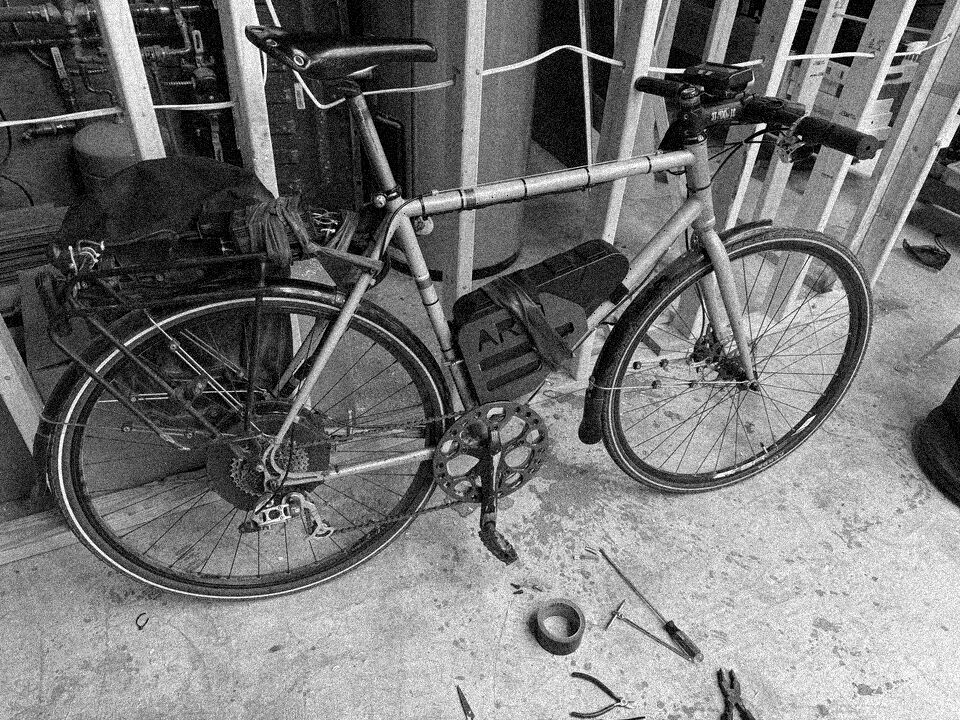
It felt super secure without the tube, just the velcro strap on the top and one to the bike.
Ride test forthcoming!
Soon enough, I'll have to build this out of aluminum or at least print it out of the PETG-CF. I have some extra velcro straps in case I break down and need to improvise. The 12v converter is also pretty darn ugly and huge, but it works (tubes are necessary there either, but good to have).
While I should focus on making a better version of this, I'm already looking to fabricating some lightweight aluminum panniers. Motorcycle panniers are too heavy, looking at 10 pounds each for big aluminum ones. These are the look I'd be going for:

Update : 100 miles in from commuting the past two days, and the battery mount is showing no signs of weakness. The upgrade in ride feel with the lower center of gravity is noticeable!